Getting Started
Prerequisites
- Python 3.10 or later (3.12 recommended)
- conda (Miniconda or Anaconda)
- PyMOL — install via conda-forge (
pymol-open-source). Do not use the obsolete PyMOL bundle (< v2.5.7) from the official website; it ships Python 3.7 and is incompatible with REvoDesign. - macOS (Apple Silicon) users: The
jaxlibbuild with AVX instructions will not work under Rosetta 2. Use a nativepymol-open-sourcebuild or buildjaxlibfrom source.
1. Create a conda Environment
conda create -n revodesign python=3.12 -y
conda activate revodesign
conda install -c conda-forge pymol-open-source pyqt=5 -y
For PyQt6 testing, a separate environment with the Schrödinger PyMOL incentive build (which ships PyQt6) can be used instead.
2. Install REvoDesign
REvoDesign uses its own Package Manager — a standalone installer that runs inside PyMOL. It is not distributed on PyPI.
- Open PyMOL.
- Navigate to Plugin > Plugin Manager > Install New Plugin.
- Choose Install from PyMOLWiki or any URL.
- Paste the Package Manager URL:
https://gist.githubusercontent.com/YaoYinYing/c1e8bfe0fc0b9c60bf49ea04a550a044/raw/REvoDesign_PyMOL.py
- Click Fetch and confirm.
- The REvoDesign Package Manager appears in the PyMOL menu. Use it to install the core REvoDesign program. Supported sources:
- Repository — Install directly from the GitHub repository.
- Local clone — Install from a local source tree or cloned repo.
- Local file — Install from a
.zipor.tar.gzarchive.
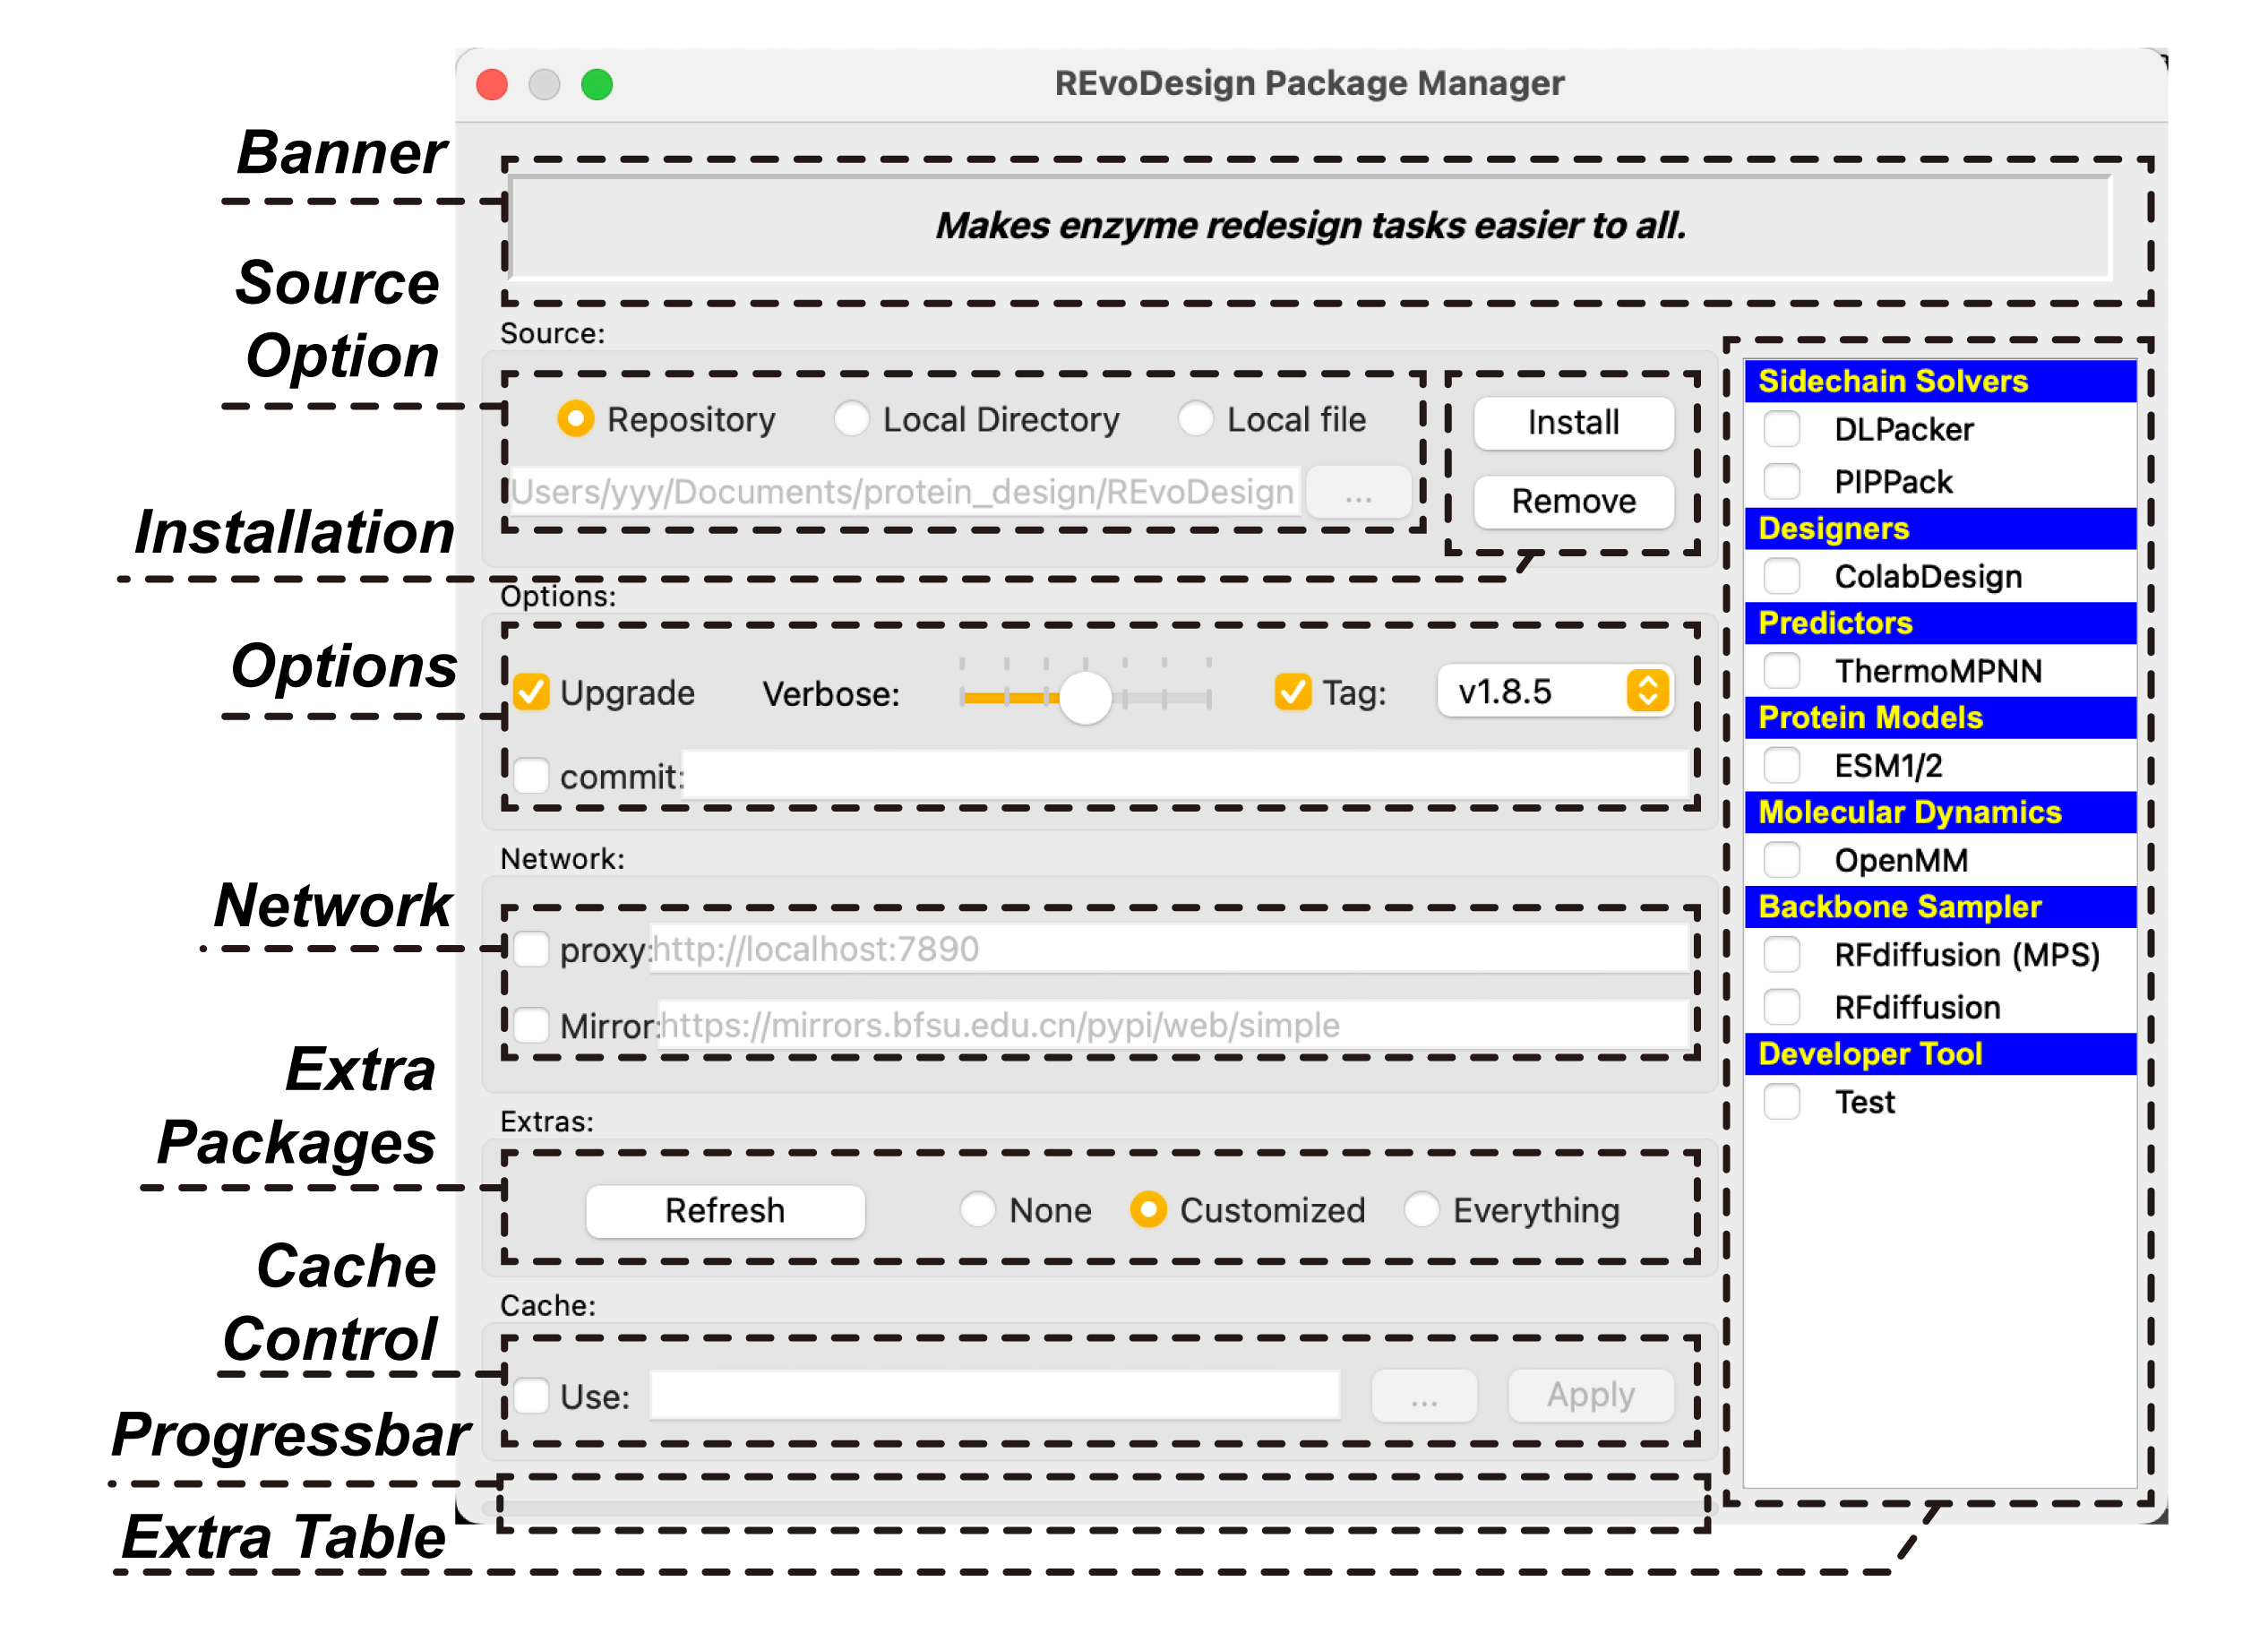
For development work, the Makefile provides pip-based convenience targets:
make install           # pip install with basic extras
make install-no-dept   # pip install, no dependency resolution
make reinstall         # clean, reformat, reinstall
Optional extras (rf diffusion, ESM2, etc.) are listed in pyproject.toml.
3. First Launch
- Fetch a structure (e.g.
fetch 1SUO) in the PyMOL command line. - Click File > Import PyMOL Session (keyboard shortcut:
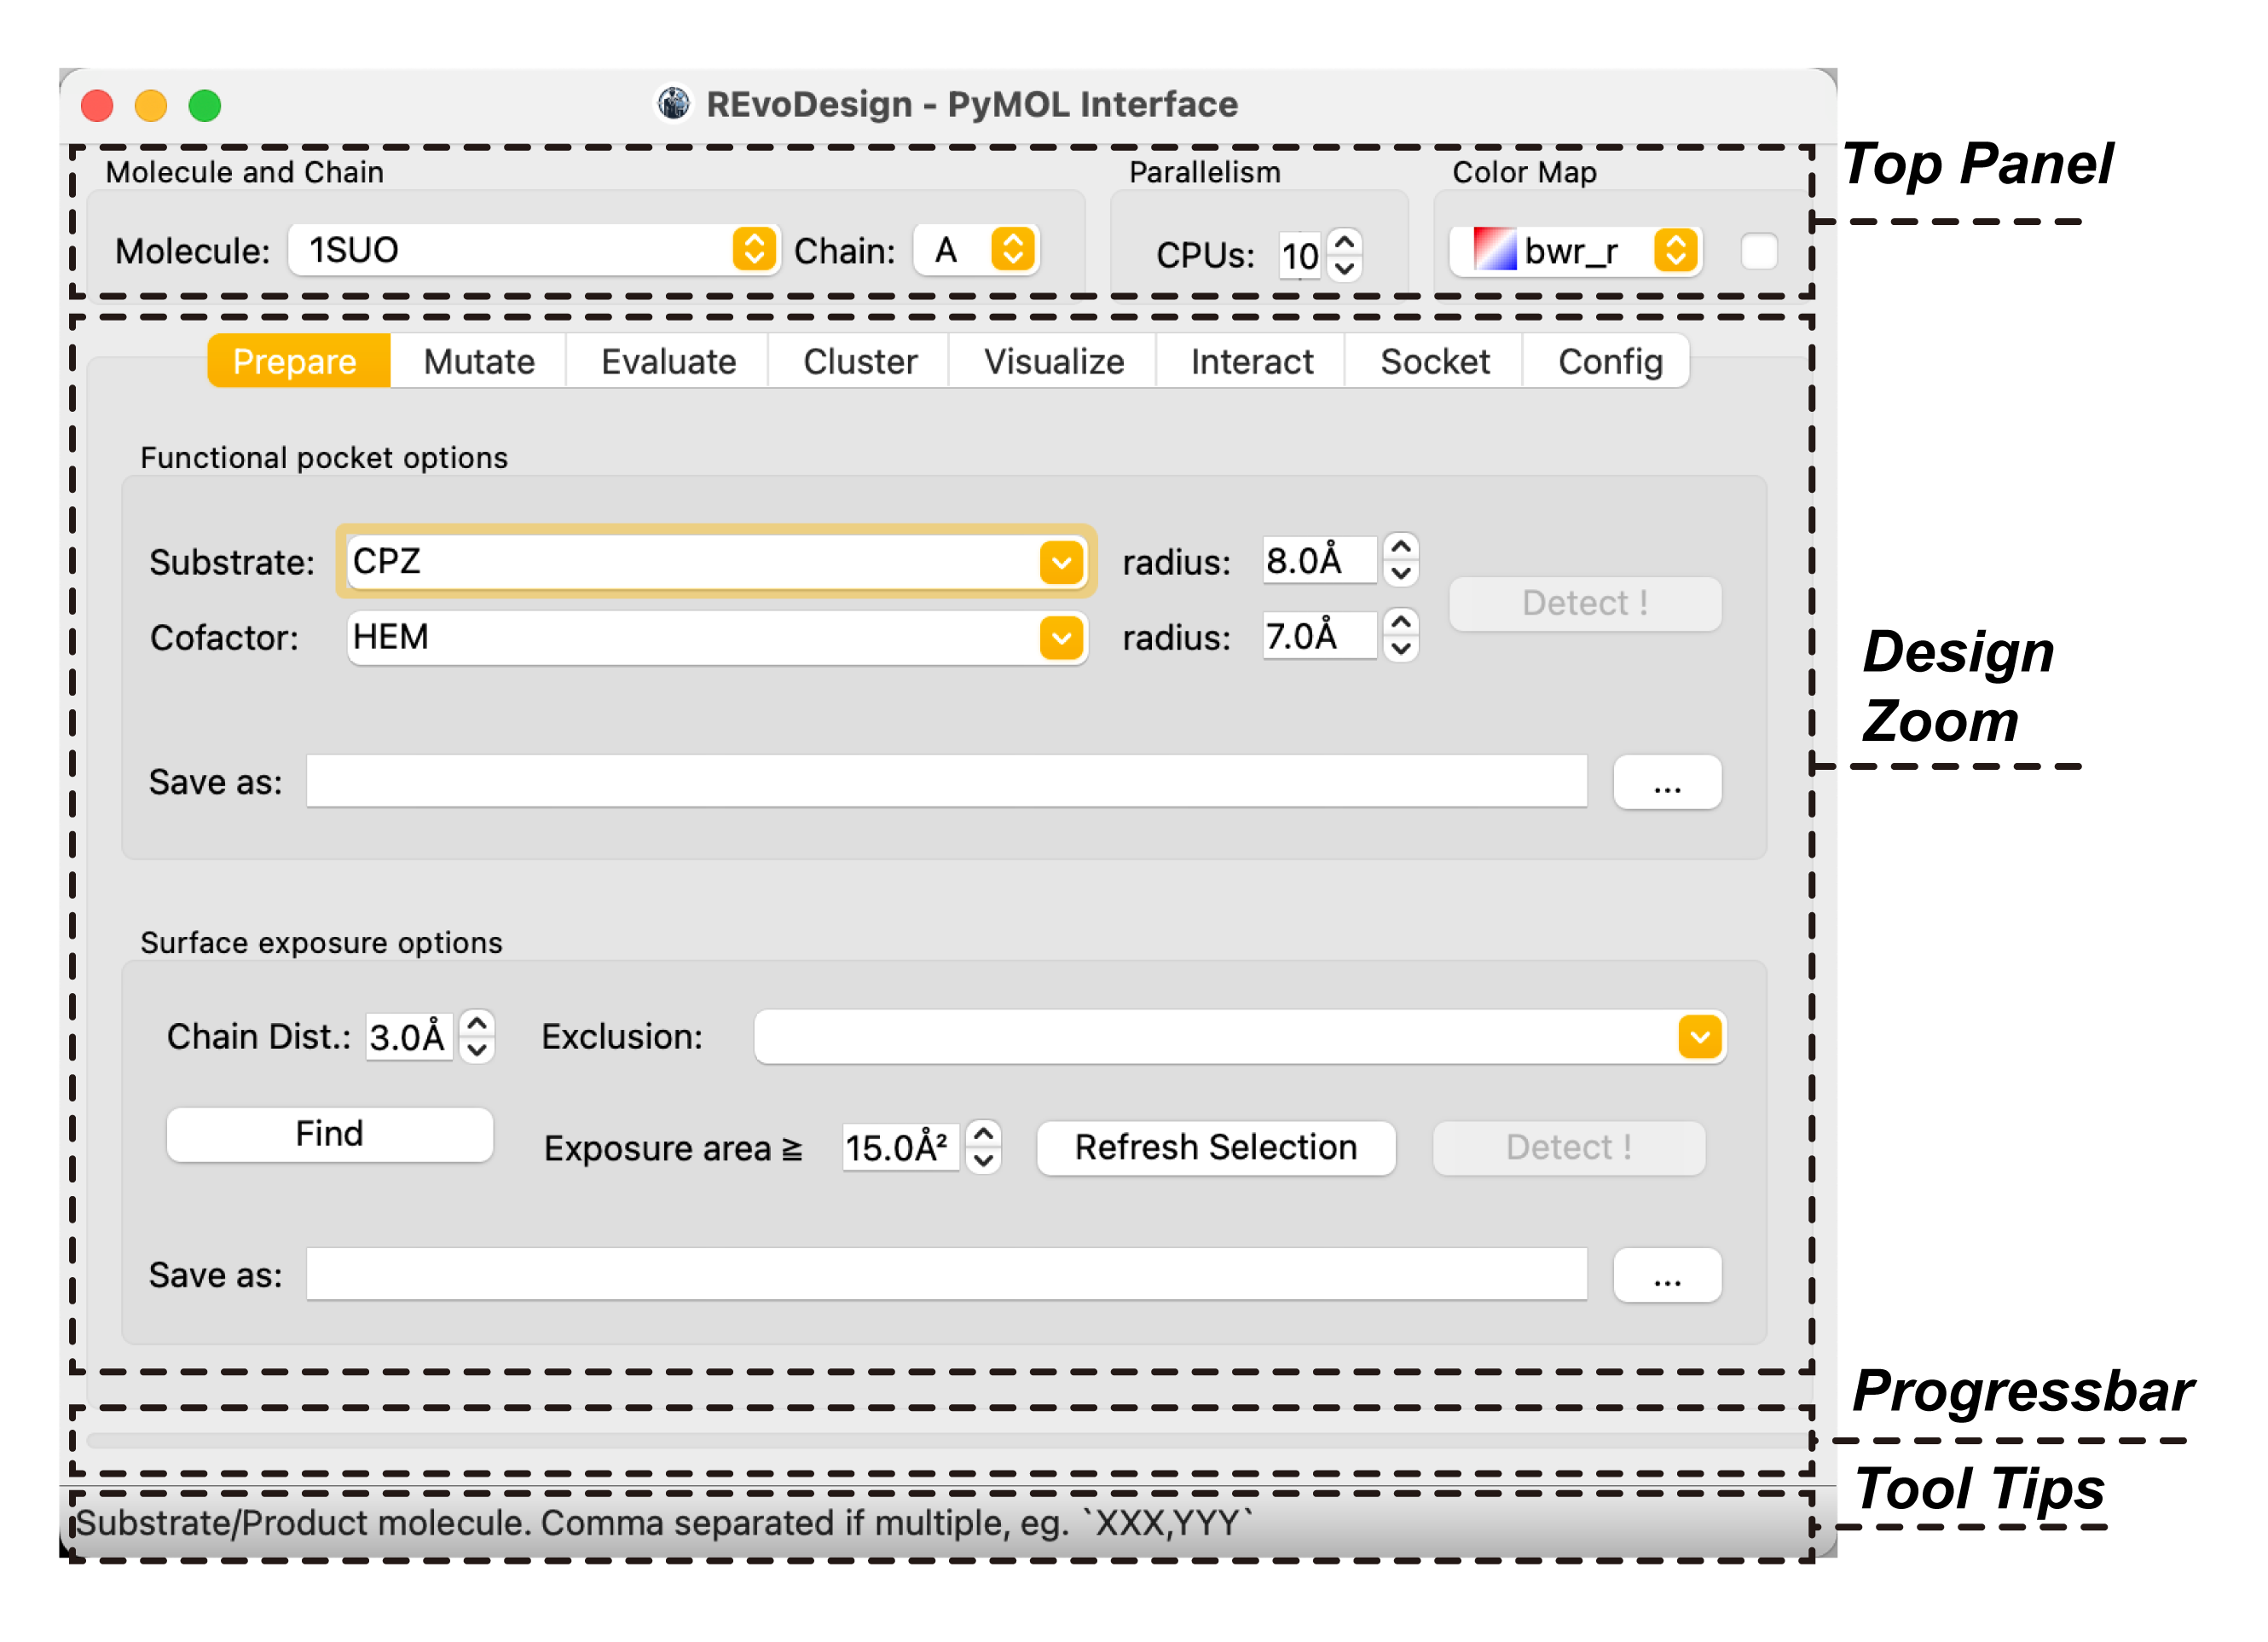
Ctrl+N) to let REvoDesign find a designable molecule. - The main UI panel opens. You are ready to design.
4. Configuration
REvoDesign stores its configuration in the platform-specific user data
directory (e.g. ~/Library/Application Support/REvoDesign/config/ on macOS).
On first run, a copy of the default configuration is created there.
Key files:
| File | Purpose |
|---|---|
appearence.yaml |
Font and button appearance. |
editor.yaml |
Monaco editor backend configuration. |
environ.yaml |
Environment variables and secrets (API keys). Never commit this file. |
logger.yaml |
Logging verbosity and output destinations. |
main.yaml |
All REvoDesign UI settings, workflow parameters, and Rosetta options. |
openmm.yaml |
OpenMM setup server configuration. |
runtime.yaml |
Runtime-specific settings. |
Example environ.yaml (keys are commented out by default; uncomment and set
your values):
override_existing: false
variables:
  # OPENKINETICS_API_KEY: your-openkinetics-api-key   # auto-registers the key
  # ROSETTA_BIN: /path/to/rosetta/main/source/bin      # Rosetta executable directory
environ.yaml preserves variables already provided by the shell. Set
override_existing: true only when the config file should replace existing
process values.
The OpenKinetics API key is auto-registered by default:
OpenKineticsScorerAbstract will automatically generate and persist a key
on first use, so manual setup in environ.yaml is optional and takes
precedence only when set.
To apply changes to main.yaml, click Edit > Reconfigure in the REvoDesign
menu. Secrets in environ.yaml take effect after using
Edit > Environment Variables > RefreshEnvironVar (or restarting PyMOL).
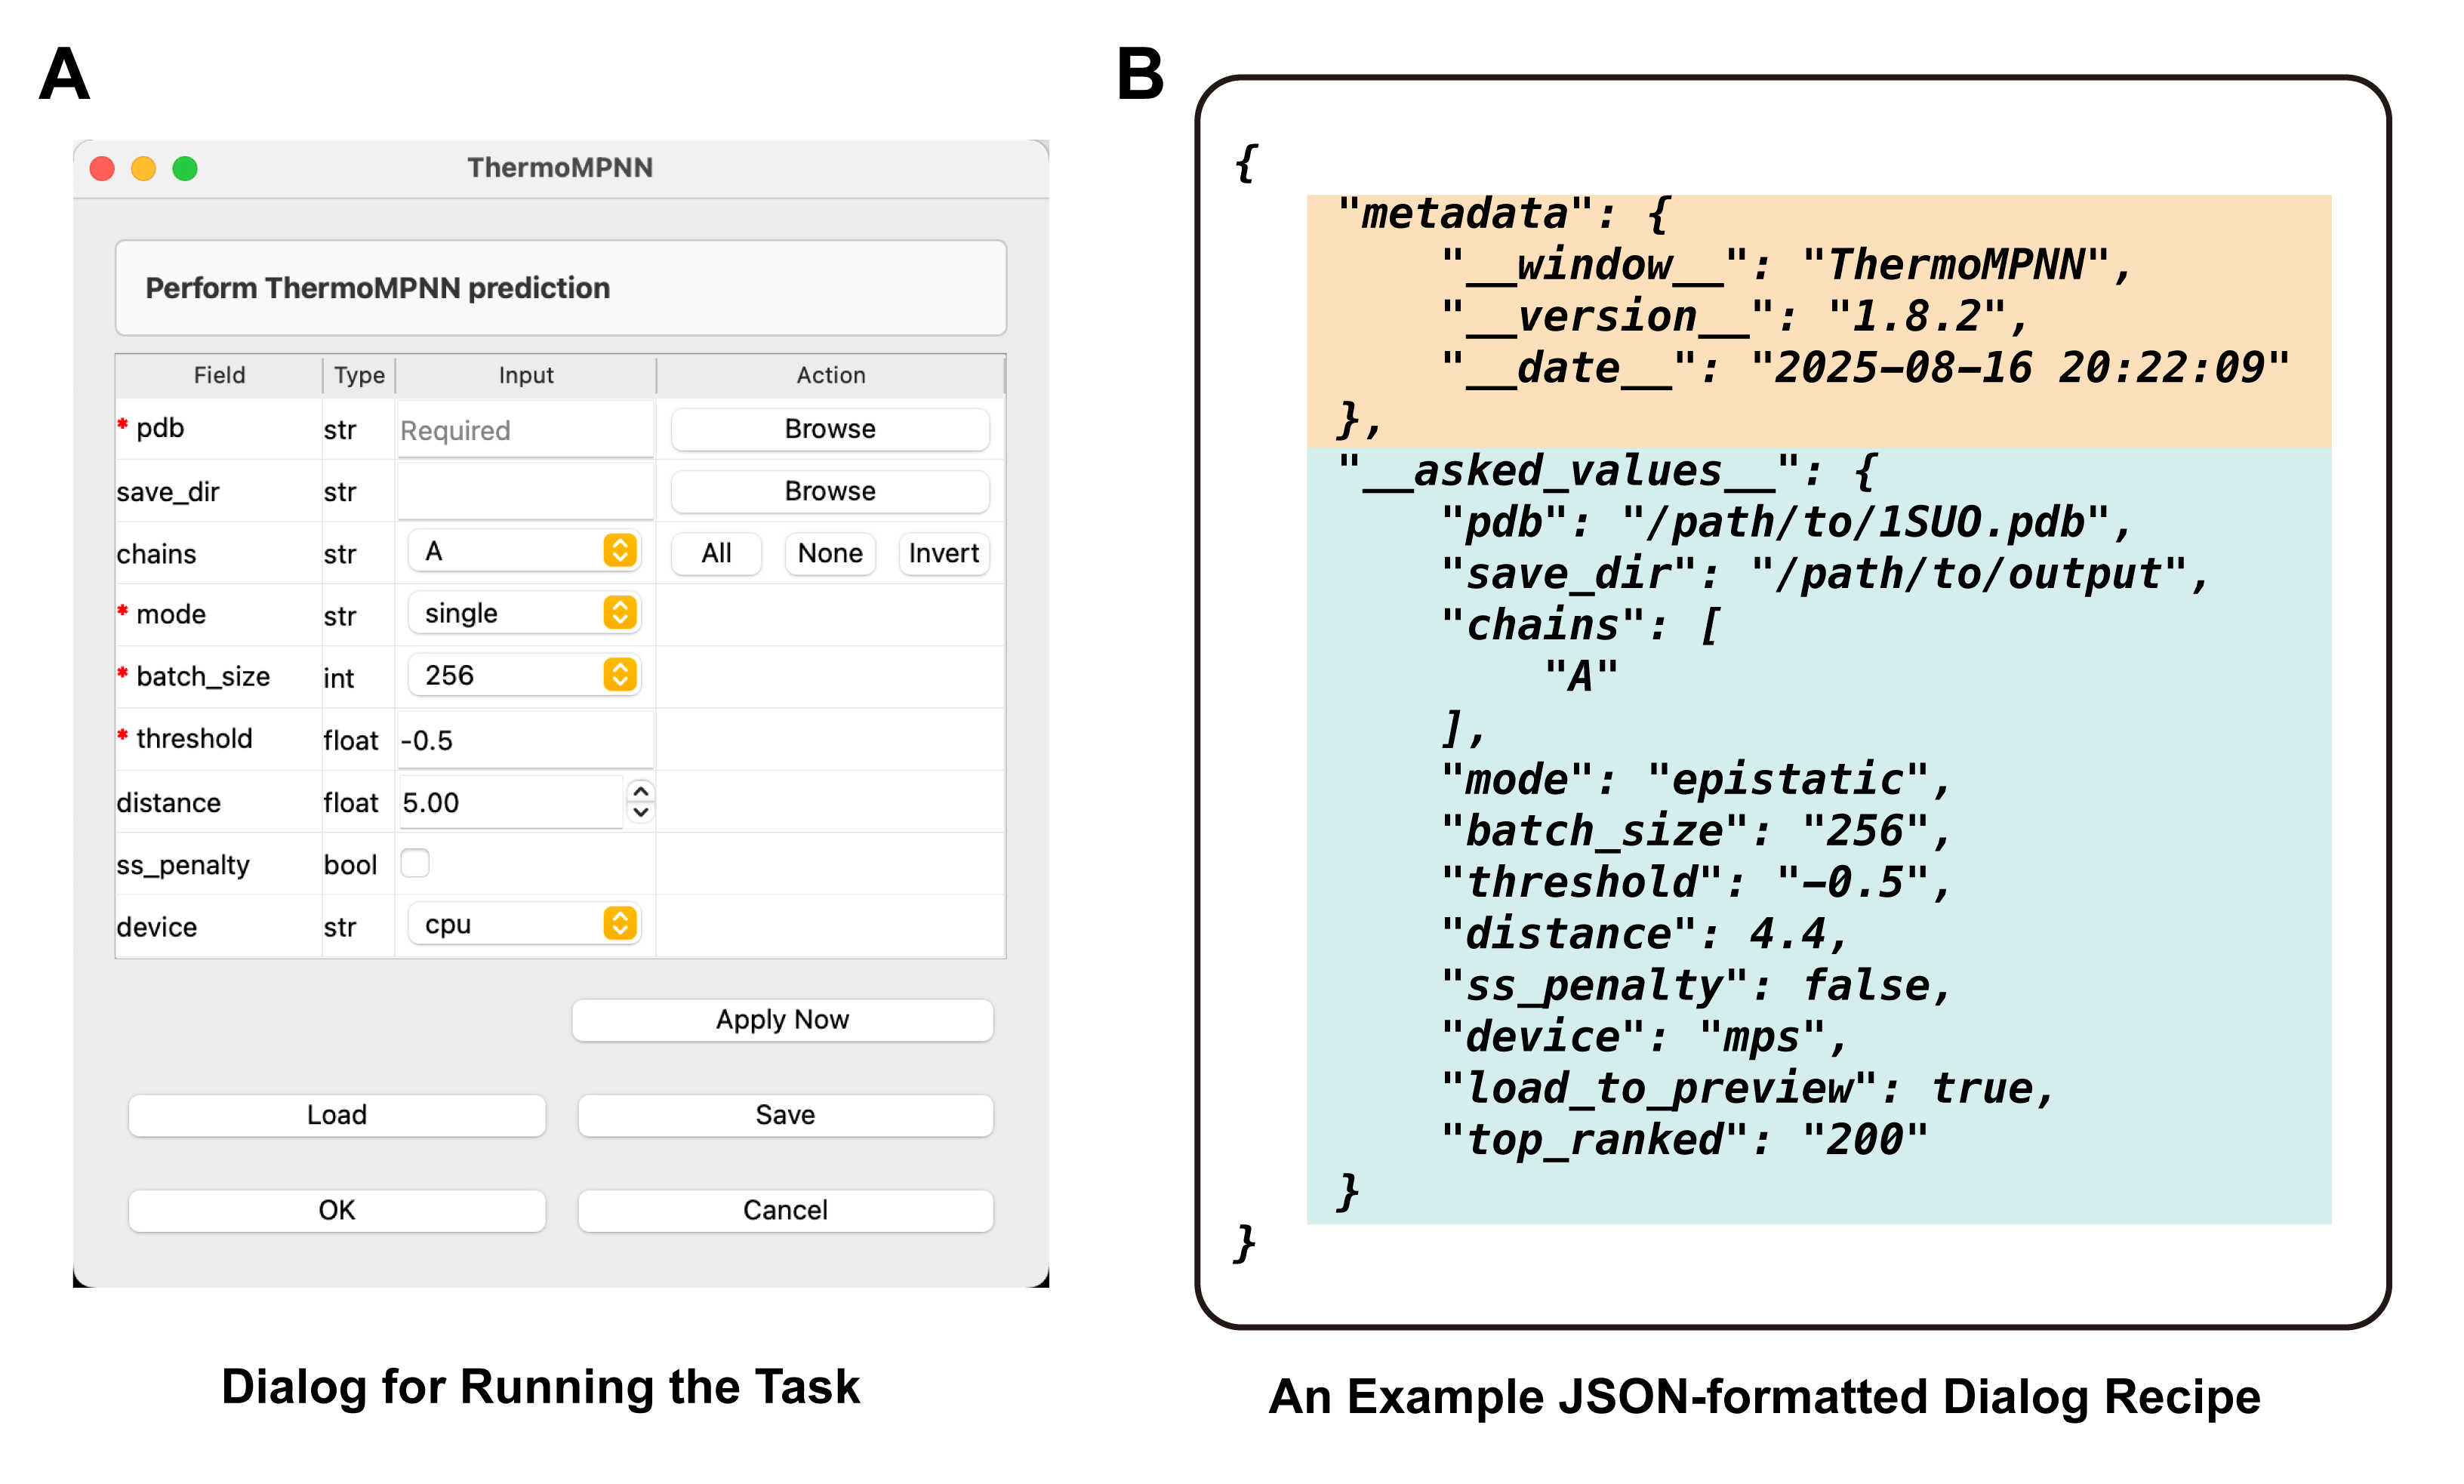
5. Basic Workflow
A typical REvoDesign session follows these stages:
- Prepare — Load a structure, identify surface residues, define the binding pocket, and fetch a PSSM profile.
- Mutate — Score and filter mutations from the profile. Apply constraints (score thresholds, residue preferences, rejection rules).
- Evaluate — Review the mutant table, inspect variants in 3D, and optionally run external scorers (Rosetta ddG, OpenKinetics, etc.).
- Cluster — Group similar mutants via sequence or evolution-aware clustering to select representatives for validation.
- Visualize — Color the structure by mutation scores, generate PyMOL sessions, and export results.
- Interact — Inspect co-evolved residue pairs and mutual information (GREMLIN analysis).
- Socket — Collaborate with other users on shared sessions.
- Config — Inspect and edit all configuration files from the UI.
Each stage has a dedicated tab in the REvoDesign UI. Detailed walkthroughs are available in the User Guide.
6. Keyboard Shortcuts
| Shortcut | Action |
|---|---|
Ctrl+N |
Import PyMOL Session |
Ctrl+S |
Save Configurations |
Ctrl+Alt+S |
Save Configuration As… |
Ctrl+Shift+S |
Save to Experiment |
Ctrl+Shift+L |
Load Experiment |
Ctrl+Shift+W |
Set Working Directory |
Ctrl+R |
Render Picked Sidechain |
Ctrl+Shift+R |
Render All Sidechains |
Ctrl+D |
Open Documentation |
Ctrl+Alt+V |
Version Info |
Ctrl+W |
Close |
Next Steps
- Read the User Guide for detailed workflow instructions.
- See the API Reference for module-level documentation.
- Browse the demo cases for real-world examples.